Installing PHP onto your NginX server

Our web server is currently pretty useless at the moment so let’s make it a bit more useful.
Enter the following command into your terminal.
sudo apt-get install php7.3-fpm php7.3-mysql php7.3-xmlrpc php7.3-curl php7.3-gd php-imagick php7.3-imap -y
Now we need to enable php in NginX. To do so we need to make some changes to the NginX settings, Type the following command into your terminal to edit the settings file.
sudo nano /etc/nginx/sites-available/default
Find the line that contains the following
index index.html index.htm index.nginx-debian.html;
Edit the line so it looks like this
index index.php index.html index.htm;
Now scroll down to find the section that begins with something like this
# pass the PHP scripts to FastCGI server listening on 127.0.0.1:9000
#
# location ~ \.php$ {
Edit the section so it looks like this
# pass PHP scripts to FastCGI server
#
location ~ \.php$ {
        include snippets/fastcgi-php.conf;

#       # With php-fpm (or other unix sockets):
        fastcgi_pass unix:/var/run/php/php7.3-fpm.sock;
        fastcgi_split_path_info ^(.+\.php)(/.+)$;
#       # With php-cgi (or other tcp sockets):
#       fastcgi_pass 127.0.0.1:9000;
}
Now you can save the config file (ctrl-s ctrl-x) and tell NginX to reload it with the following command
sudo service nginx reload
You should now create a simple PHP file to check if the setup is working correctly. To do this, type in the following command.
sudo nano /var/www/html/index.php
You need to now add the following code to your newly created file:-
<?php phpinfo(); ?>
Now save the file (ctrl-s ctrl-x)
Finally, you can now view your dynamically created web page by entering the IP address of your server (the one you noted when you installed NginX) into your browser. If you have forgotten it, you can enter the command
ifconfig
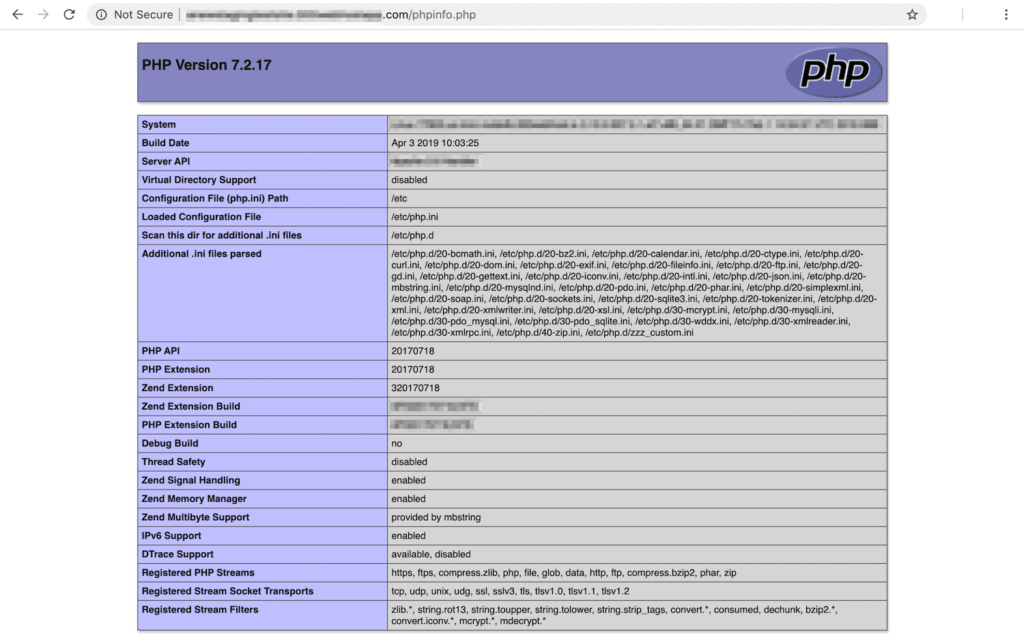
again and locate the IP address on the line that starts with inet. The IP address should start with 192.168. Entering this IP address should now show you a page something like this.

This shows PHP is installed correctly


